Disclosure: Some links on this page are affiliate links. If you buy through them, I earn a small commission at no extra cost to you. I only recommend gear I actually believe in. Thanks for your support! — Jason
You don’t need a professional recording studio to get clean podcast audio. Some of the best-sounding podcasts are recorded in treated bedrooms and home offices. Here’s how to dramatically improve your room acoustics without spending a fortune — starting with fixes that cost nothing.
Step One: Get the Right Microphone
Before you spend a single dollar on acoustic treatment, make sure you’re using a dynamic microphone. This is the most important and most overlooked part of recording in an untreated space.
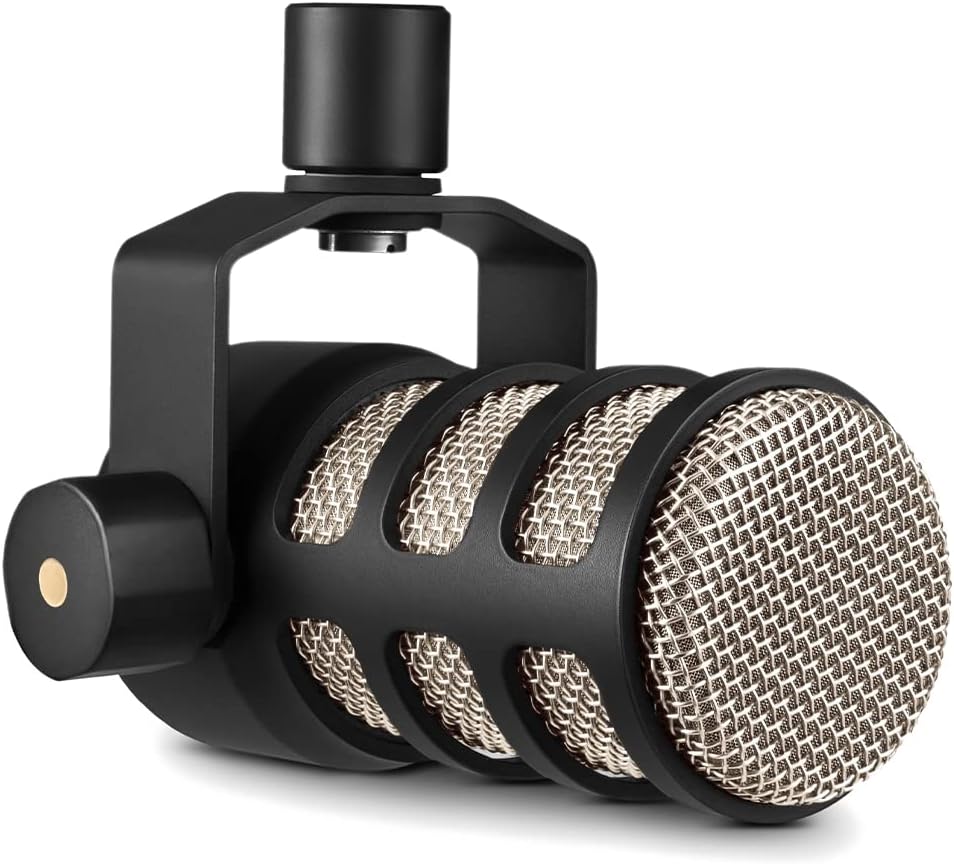
Dynamic microphones naturally reject off-axis room sound. They focus on what’s directly in front of them — your voice — and ignore reflections, echo, and ambient noise coming from other directions. The Rode PodMic ($99) and Shure SM48 ($99) are the two best options for recording in real-world, untreated environments.
A dynamic mic positioned close to your mouth will sound better in a bad room than a condenser mic in a moderately treated room. Get the microphone choice right first. Everything else builds on that foundation.
Rode PodMic — $99 — View on Amazon →
Free Fixes That Actually Work
Record in a closet full of clothes. Seriously. This is legitimately one of the best recording environments you can create without spending anything. The clothing absorbs sound reflections from every direction, the small space eliminates room reverb, and the irregular surfaces of hanging garments break up any standing waves. Many professional podcasters and voice actors record in exactly this setup.
Hang heavy blankets on the wall behind your microphone position. Blankets, comforters, moving pads — anything with mass and texture that absorbs sound rather than reflecting it. One blanket behind you makes a noticeable difference in room echo.
Put a rug on bare floors. Hard floors are one of the biggest contributors to echo in a home recording space. A thick area rug under your recording position absorbs floor reflections and tightens up the room sound noticeably.
Close the door. Obvious, but often forgotten. A closed door reduces ambient building noise and keeps pets, family, and outside sounds out of your recording space.
Mic Placement: More Important Than Treatment
Get the microphone 6 to 8 inches from your mouth. Speak directly into the capsule. This single change will improve your sound quality more than any amount of foam panels on the walls.
Here’s why: at close range, your voice is significantly louder than the room reflections. The mic captures mostly your voice. At two feet away, your voice and the room are much closer in level, so the mic captures a lot more room sound mixed with your voice. Distance is your enemy. Close mic placement is your best friend — and it costs nothing.
Budget Acoustic Treatment ($50 to $150)
Once you’ve exhausted the free fixes, targeted acoustic foam panels make a real improvement at a low cost. You don’t need to cover the entire room. Focus on the wall directly behind your mic position and the wall beside you. These are the surfaces that reflect directly back into the microphone capsule.
A 12-pack of 2-inch acoustic foam panels costs around $25 to $40 on Amazon and covers a 4-by-4-foot section of wall. Mount them with removable strips to avoid damaging walls. Strategic placement behind and beside your mic handles the most problematic reflections for under $50.
The Reflection Filter Option ($89)
A portable reflection filter mounts directly on your mic stand behind the mic capsule and creates a mini acoustic environment around the microphone itself. The Kaotica Eyeball ($89) is one of the best options in this category — it wraps around the mic and dramatically reduces room reflections reaching the capsule from behind. It works particularly well for travel and for spaces where you can’t put anything on the walls.
What Doesn’t Work
Thin foam mattress toppers or craft store foam. These absorb high-frequency sound only and do almost nothing for the midrange frequencies where voice lives. You need dense, thick material — 2-inch or thicker acoustic foam, heavy blankets, or purpose-built panels.
Also: egg cartons. This is a persistent myth. Egg cartons do not provide meaningful acoustic absorption for voice recording. Use real acoustic foam or heavy fabric instead. BOOM.
Comments are closed